- (407) 774-8324
- JDMFlorida@gmail.com
 Login
Login


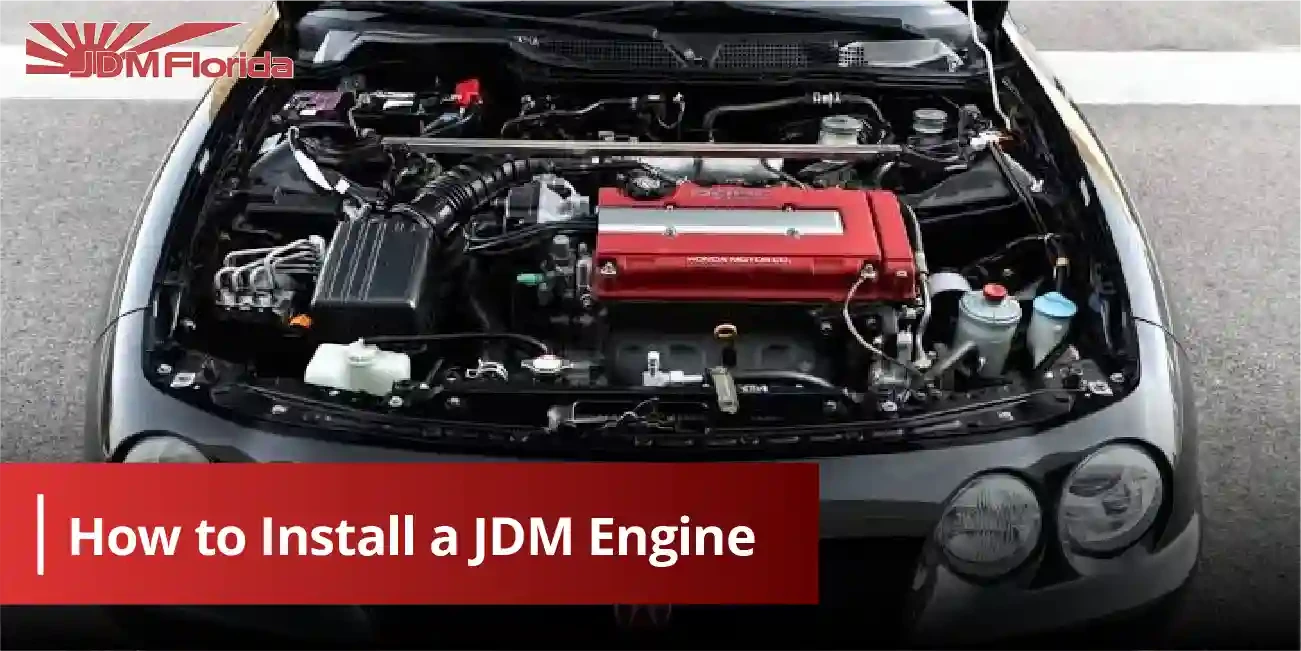
JDM Engine Swap Guide: How to Install a JDM Engine (Step by Step)
A JDM engine swap can save thousands compared to rebuilding. But getting it right takes more than just bolting in the new engine.
This step-by-step JDM engine swap guide walks you through every stage. Fitment verification, tools you'll need, wiring and ECU considerations, mounting, transmission pairing, and the post-install break-in process, we’ve got it all covered.
Let's turn that project car dream into reality without blowing up your budget.
Before You Start — Verify Fitment
"Close enough" doesn't work in the automotive world.
Before you install a new imported motor, you need to make sure it actually fits your chassis. A tiny mismatch can totally delay your plan.
Here is your quick fitment checklist:
Year, Make, Model, and Engine Code Matching: A "K24" label does not guarantee a direct drop-in for your car. You must know the exact suffix (like K24A1, K24A2, or a true JDM K24A) because they dictate different compression ratios, cylinder heads, and sensor locations. Always cross-reference your chassis code (like EG, EK, or DC5) with the specific engine variant you are ordering.
Bellhousing Bolt Patterns: If you plan to keep your original gearbox, verify that the JDM engine shares the exact same bellhousing bolt pattern. When shopping a k24 engine and transmission for sale, ensure the block matches your intended transmission, as some JDM blocks lack specific mounting bosses used in USDM chassis.
ECU & Harness Compatibility: JDM engines often use different sensors than local motos. Take care of different distributor plugs, missing OBD2 emissions sensors (like EGR or secondary O2), and completely different throttle body setups (drive-by-wire vs. cable). Decide upfront if you will swap your original USDM sensors and wiring harness onto the JDM block, or run a conversion harness.
Should You Buy Engine + Transmission Together?
When looking for the best JDM engine, you'll face a big choice: buy just the long block, or buy a complete engine and transmission package?
Honestly? Buying them together is almost always the smarter move. Here is why:
Mass Shipping Savings: Shipping heavy engines and transmissions separately means paying double the freight fees. Getting them together minimizes your cost.
Guaranteed Matched Bellhousing: It ensures the transmission comes already bolted perfectly to the block. This removes any hassle because the starter, flywheel alignment, and clutch splines are guaranteed to match.
Maximize Your Project's Potential: Grabbing a k24 engine and manual transmission for sale as a pair guarantees you get a matching performance gearbox. These JDM setups have shorter gear ratios or factory Limited Slip Differentials (LSD) that were never released in local markets.
Quick Guide: Recommended Combo Swaps
Some engines simply belong with their matching gearboxes. If you are planning to swap any of these, do yourself a favor and buy the bundle:
Tools You'll Need
Do not start unbolting things until your garage has all the tools you need. A basic toolkit will only lead to stripped bolts and broken knuckles.
Your Essential Swap Checklist:
Lifting Gear: Engine hoist, load leveler, and heavy-duty chains.
Support Gear: Engine stand and a transmission jack.
Hand Tools: Metric socket sets (8mm to 32mm), a breaker bar, and a quality torque wrench.
Shop Supplies: Drain pans, fluid absorbent mats, shop towels, zip-ties, and paint markers.
Preparing the JDM Engine
When your motor arrives on its shipping pallet, do not just drop it into your car. Take the time to prep it while it is out in the open and easy to work on.
Step 1: Health Check
Before you break any warranty seals or install the motor, perform a dry compression test. Spin the engine over using a starter motor or by hand with a socket on the crank pulley. Ensure all cylinders show healthy, even numbers. This gives you peace of mind before installation.
Step 2: Visual Inspection
JDM engines sit in warehouses and shipping containers for months. Check for cracked plastic sensors, bent brackets, or deep corrosion. Inspect the oil pan for dents that could block the oil pickup tube inside.
Step 3: Replace Wear Items
It is much easier to replace components now than when the engine is installed into a tight engine bay. Swap out the water pump, thermostat, and spark plugs. If you are installing a platform known for chain stretch, look into a fresh timing kit.
Step 4: Install New Seals
Prevent future oil leaks by installing fresh gaskets before the first start. Check the three major trouble spots:
Rear Main Seal: It is located behind the flywheel. Replacing it now saves you from pulling the transmission later.
Valve Cover Gasket: Simple to replace and prevents oil from pooling in your spark plug wells.
Oil Pan Gasket/RTV: Ensures your garage floor stays clean and your oil pressure stays consistent.
Removing the Existing Engine
Time to make some room. Clear a wide workspace, put on your safety glasses, and take it one step at a time.
[DISCONNECT] [DRAIN] [LABEL] [EXTRACT]
Battery & Wires ➔ Coolant & Oil ➔ Hoses & Plugs ➔ Engine & Trans
1. Safety First
Disconnect the battery completely and remove it from the car to avoid any accidental electrical arcs. Safely relieve fuel pressure before cracking open any fuel lines.
2. Evacuate Fluids
Drain the engine oil, transmission fluid, and radiator coolant into separate pans. Dispose of them responsibly. Leaving fluids in the drivetrain makes it heavier and causes a mess when axles or driveshafts are pulled out.
3. Document Everything
Take tons of photos of your original engine bay from multiple angles. Use masking tape and a permanent marker to label every single vacuum line, coolant hose, and electrical connector. Your future self will thank you.
4. Clear the Path
Remove the hood, radiator, cooling fans, and air intake box. Disconnect the exhaust downpipe, unbolt the shift linkages, and pop the axles out of the transmission hubs.
5. The Big Pull
Hook up your engine hoist to the designated lifting points on the engine. Apply slight tension, unbolt the engine and transmission mounts, and slowly guide the old assembly out of the chassis. Watch for any overlooked ground wires or stubborn clips as you lift.
Installing the JDM Engine
With an empty engine bay, take a moment to wipe down the chassis and frame rails. Once the space is clean, it is time to drop in your new engine
Mount Alignment
If you are using aftermarket swap mounts (like Hasport or Innovative for a Honda build), bolt the chassis brackets in place first. Lower the engine into the bay slowly. Work with a friend to guide the engine onto the mounts, starting with the rear mount before lining up the sides.
Torque to Spec
Do not just guess. Grab your service manual and torque every bolt to exact specifications. Use a medium-strength thread locker on mount bolts to ensure they do not vibrate loose over time.
Reconnecting Systems
With the engine resting safely on its mounts, you can remove the hoist and start connecting your support systems:
Fuel System: Connect fuel feed and return lines with fresh crush washers.
Cooling System: Reinstall the radiator, connect heater core hoses, and ensure all clamps are secure.
Exhaust: Bolt up the headers or downpipe using a fresh gasket to prevent leaks.
ECU & Wiring
Wiring can be tricky. The secret to success here is taking your time.
Option A: OEM/USDM Harness
Swap your original USDM sensors straight onto the JDM block.
Retains factory emissions and OBD setup flawlessly.
The easiest path for daily drivers.
Option B: Standalone ECU
An aftermarket, plug-and-play unit built for total control.
Fully tuneable to unlock maximum horsepower.
An absolute must-have for custom turbo builds.
Managing the Harness
Strip the JDM wiring and swap your original USDM harness onto the new block. This keeps your factory gauges, interior plugs, and modules working with zero custom modifications.
Your Main ECU Options:
USDM Factory ECU: Best choice if you keep stock sensors and absolutely need to pass local emissions.
JDM ECU: Offers factory fuel maps and a higher redline, but might throw a check engine light for missing sensors.
Standalone ECU (Hondata, Haltech): The peak performance move to bypass factory limits and tune for maximum power.
Mind the Pin-Outs: Wire colors rarely match perfectly across different regions. Always use a verified diagram to check that critical signals like oil pressure, VTEC, and crank position match at the plug
Popular Swap Combinations
If you are looking for inspiration or shopping around for high-performance setups, these engine combos are highly popular.
Honda Swap Combinations:
Turbo Icon Swap Combinations:
First Start & Break-In
The fabrication is done, the fluids are filled, and you are ready to turn the key. Do not rush this step; a first start protects your investment.
1. Prime the Oil System
Before you actually fire up the engine, you need to circulate oil through the entire block. Disconnect the ignition signals or pull the fuel pump fuse so the engine cannot start. Crank the starter motor in 5-second bursts until your dashboard oil pressure light turns off. This ensures your bearings are lubricated before the engine runs under its own power.
2. The First Start Procedure
Reconnect your ignition/fuel system, turn the key, and let the engine catch. Keep a close eye on your oil pressure and water temperature gauges. Let the engine come to operating temperature and check for any fluid leaks or unusual noises.
3. Bleed the Cooling System
As the engine warms up, open your radiator cap (or use a spill-free funnel) to draw out trapped air out of the cooling system. Massage the upper and lower radiator hoses to encourage air bubbles to escape. Wait until the thermostat opens and your cooling fans kick on before sealing the system.
4. The 500-Mile Break-In Routine
Even on a used JDM engine, give the components time to settle in before pushing it hard:
First 50 Miles: Drive at varying RPMs. Avoid sitting at a constant speed on the highway, and avoid high-boost or redline pulls.
Oil Change #1: Change the oil and filter after the first 50 to 100 miles to flush out any assembly debris or storage residue.
Up to 500 Miles: Continue driving with varying engine loads. Check your fluid levels weekly. Once you hit 500 miles with zero issues, you are ready.
Common JDM Swap Pitfalls
Even experienced builders can run into unexpected issues during a swap. Keep an eye out for these common trouble spots to keep your build on track:
Mismatched Intake Manifolds: JDM intake manifolds often lack vacuum ports required for local emissions equipment. You may need to swap your original USDM manifold and throttle body onto the new block.
EGR vs. Non-EGR Cylinder Heads: Many JDM engines do not use Exhaust Gas Recirculation (EGR) systems. If your factory USDM ECU looks for an EGR valve, it will throw a check engine light. You will need a bypass electronic module or an aftermarket tuning solution to resolve it.
Auction Mileage vs. Real Condition: While most JDM engines are imported with low mileage due to Japan's strict inspection laws, storage conditions vary. Always perform a compression and leak-down test upon arrival to confirm internal engine health.
Skipping the Bellhousing Check: Never assume a transmission bolts up perfectly just because it belongs to the same engine family. Always test-fit your transmission to the block before dropping the assembly into your engine bay.
When to Call a Professional
There is no shame in asking for assistance when things get complicated. Knowing your limits can save you time, money, and frustration.
Complex Multi-Cylinder Swaps
Dropping a straight-six like an RB26DETT or a 2JZ-GTE into a small sports car chassis usually requires extensive fabrication. If you need custom motor mounts welded to the subframe, a modified firewall, or a custom driveshaft, it is best to consult an experienced fabrication shop.
High-Level Tuning Needs
If your swap involves an aftermarket standalone ECU, high-flow injectors, or a custom turbo kit, do not try to guess your fuel and ignition maps. Take your car to a professional tuner. A proper tune ensures your engine runs safely, makes optimal power, and drives smoothly.
Ready to Upgrade Your Ride?
At JDM Florida Depot, we source premium, low-mileage powertrain engines directly from Japan to help you complete your build correctly the first time. Whether you are searching for a high-revving k20 engine and transmission for sale, a robust b16 engine and transmission for sale, or a complete k20a engine and transmission for sale package, we have you covered. Every bundle is inspected, carefully tested, and prepared safely for delivery straight to your garage door.
Explore our complete line of high-performance engines on our product pages, check out our deep-dive comparisons, or call our expert team at (407) 774-8324 to get tailored advice for your specific chassis today!
Find Your Next Engine: Explore our curated selection of JDM Honda engines for your build.
Upgrade Your Gearbox: Pair your motor with our premium JDM Honda transmissions.
Stuck on Which to Choose? Browse our reliable JDM Engines to find the right unit for your build goals.